Buttons are one of the most common ways of adding a interactive object to your SmartTutor 360 slides. You can customize their appearance to fit your course design and add triggers to control their actions.

Adding Buttons
- Go to the slide where you want to add a button, then go to the Insert tab on the ribbon
- Click Button and draw your button on the slide.
Editing Text to Buttons
You don’t have to make a new text box to input text onto a button. Simply choose the button and begin typing – the text will merge with the button itself. Adjusting the button size might be necessary to fit the text properly.
To change the font and paragraph settings, select the button and use the options on the Home tab.
Renaming Buttons
SmartTutor 360 gives each button a default name: Button 1, Button 2, etc. We recommend rename they, so they’re recognizable when adding actions
One way to rename a button is go to Properties pane -> Properties tab -> General section, select Name and edit Name.
Another way is to double-click the button in the Selection Pane, enter a new name, and press Enter on your keyboard.
Working with Button States
Buttons have several built-in states that change the way they look when learners hover over them, click them, or otherwise interact with them.
By default, buttons have Normal, Hover, Pressed, and Disabled states. You can modify any of these built-in states and even create your own custom states.

Working with Actions
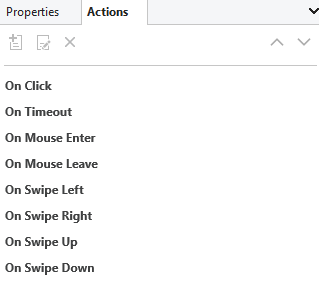
You can add more actions to trigger perform actions based on learner interaction. For example, you might use a button to show a feedback layer, play a video, or adjust a variable. These and many other actions can be handled with Actions.

See this user guide to learn about Actions.
If you are finding an eLearning authoring tool to create online courses for your training, SmartTutor 360 may be an ideal option. It helps create interactive quizzes, software simulations, gamification, and more. Furthermore, don’t forget to visit our website, tutorials and YouTube channel to learn more.