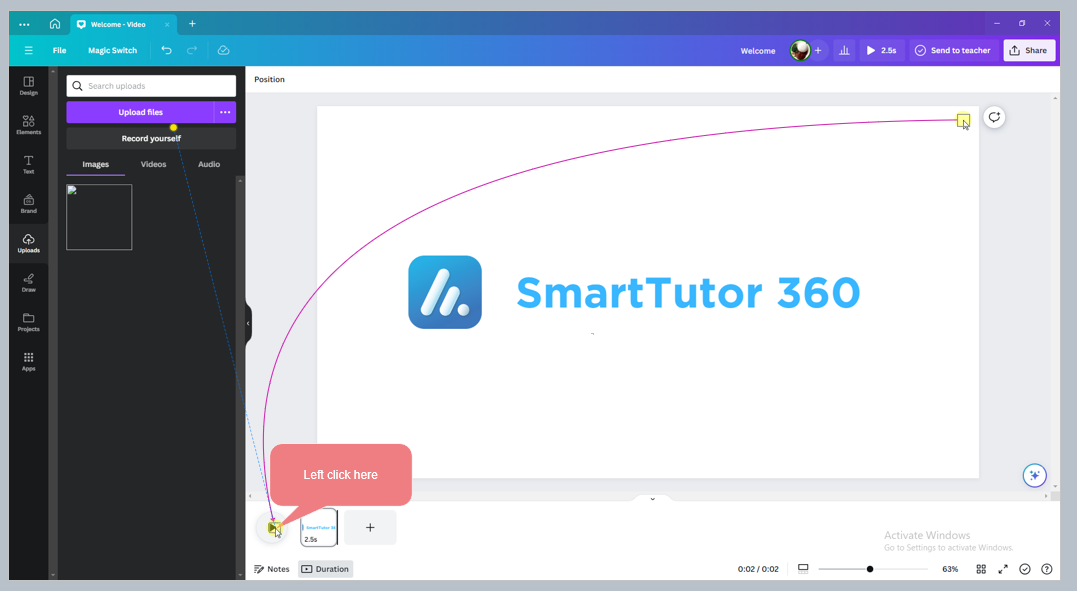
SmartTutor 360 makes it easy to create software simulation projects. These projects are ideal for teaching software-related skills in a fun, interactive way.
| Note: For macOS users, you must grant adequate permissions to run simulations. Navigate to System Settings > Privacy & Security, and add permissions for: Accessibility Input Monitoring Screen Recording Grant permission to SmartTutor 360 application. |

Overview
In the SmartTutor 360, a software simulation is an eLearning course that simulates the behavior of a software application or system. Using SmartTutor 360, you can create a software simulation by capturing your actions on the screen as you interact with the software application or system. SmartTutor 360 can record your mouse clicks, keyboard inputs, and other actions and then use them to create an interactive simulation.
SmartTutor 360 allows you to simultaneously create software simulations in two modes:
| Demo | Demonstrate a software procedure. The user isn’t required to perform any action. |
| Training | Test the user’s knowledge of a procedure. Only inform the user if the step was incorrectly carried out. Guide a user through a procedure. The user must perform the steps in a procedure but with guidance at every step. |
Launch software simulation
Launch SmartTutor 360 Home and select Record Screen
- Record the screen or a video from the webcam. See detailed instructions in the Screen Recording article.
- In Recording Screen Recorder Dialog, check Software Simulation and choose Demo or Training

To stop recording, pressing F10 (for Windows) or clicking the SmartTutor icon on the Taskbar. For macOS, press ⌥⌘2. Alternatively, click the Stop button in the Recording Toolbar dialog.
Then, you will then see a series of slides containing the steps you have taken in the Slides pane.

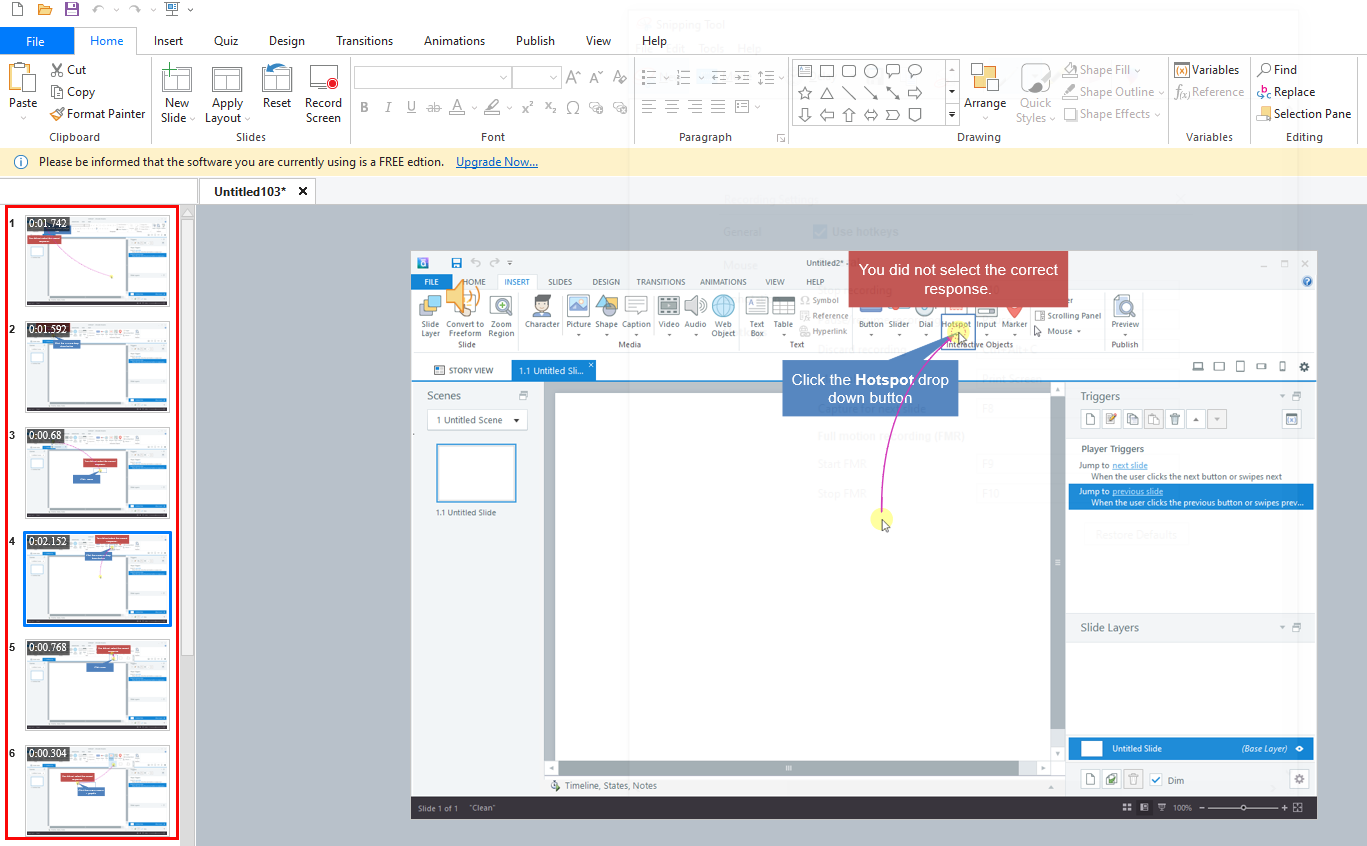
A slide-based project will result from all actions on the screen. Slide names can be automatically created by SmartTutor, as well as smart annotations, mouse path, click box, keystrokes, and feedback caption messages. As a result, you can save yourself a lot of time and effort during the editing process.
Setting Recording Mode
To customize Annotation Settings of Demo or Training, click Settings button -> Recording Mode tab

Demo mode settings
Instructions
- Add comment boxes: Automatically creates captions based on user and system actions performed during recording. The text captions use the labels in the application to describe a step.
Mouse
- Show mouse location and movement: Displays mouse movements during recording.
- Add Click Box on mouse click: Automatically adds a highlight around the area where you click the mouse.
Now, you can start editing the recorded content or add new media objects. As the audio and video files are added to separate tracks, their properties should be edited separately.
Training mode settings

Instructions
- Add comment boxes: Automatically creates captions based on user and system actions performed during recording. The text captions use the labels in the application to describe a step.
Mouse
- Show mouse location and movement: Displays mouse movements during recording.
Clickbox
- Add clickboxes on mouse click: Select to add click boxes when a learner clicks the mouse during a training.
- Success caption: Select to display the success caption when a learner clicks the correct option.
- Failure caption: Select to display the failure caption when a learner clicks the incorrect option.
- Hint caption: Select to display a hint to the learner.
Key Strokes – Edit Box
- Automatically add Key Strokes or Edit Boxes for text fields: Select to display an edit area during the assessment when a learner enters text in a text field.
- Success caption: Select to display the success caption when a learner enters the correct text in the field.
- Failure caption: Select to display the failure caption when a learner enters an incorrect text in a field.