Use shapes to design the layout of a slide, function as buttons, act as drag object, drop targets in drag-and-drop scenarios, and more. Here’s how to add shapes in SmartTutor 360:
- On the Insert tab, select
 Shapes.
 - Select a shape from the gallery, and then click and drag to draw the shape.
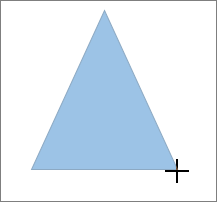
To create a perfect square or circle (or constrain the dimensions of other shapes), press and hold Shift while you drag.
- If you want to add text to the shape, select the shape on the slide and begin typing. You don’t need to add a separate text box
After you add one or more shapes, you can add text, bullets, and numbering to them, and you can change their fill, outline, and other effects on the Format tab.
Add text to a shape
Insert a shape or select an existing shape, and then enter text.
- Right-click the shape and select Add Text or Edit Text, or just start typing.
Note: The text that you add becomes part of the shape — if you rotate or flip the shape, the text rotates or flips also.
- To format and align your text, click the Home tab, and then choose options from the Font, Paragraph, or Alignment groups, depending on the program you’re using and what kind of formatting you want to apply.
Change from one shape to another shape
- Select the shape to change.Tips: To change multiple shapes, press Ctrl while you select the shapes to change.
- On the Format tab, select Change Shape and choose a new shape from the gallery.
- Select Edit Points to convert shape to freeform shape.
Add a Quick Style to a shape
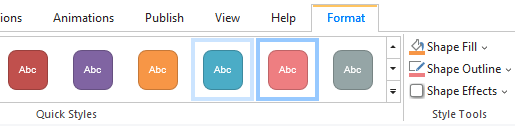
Quick Styles let you apply a style to your shape with one click. You’ll find the styles in the Quick Style gallery. When you hover over a Quick Style thumbnail, you can see how the style affects your shape.
- Click the shape you want to change.
- Select the Shape Format or Format tab, and in the Shape Styles group, select the Quick Style you want to use.
Change the color of a shape
To learn how to change fill color, border color, or text color, see Change the colors in a text box or shape.
Delete a shape
Select the shape that you want to delete, and then press Delete. To delete multiple shapes, press Ctrl while you select the shapes that you want to delete, and then press Delete.