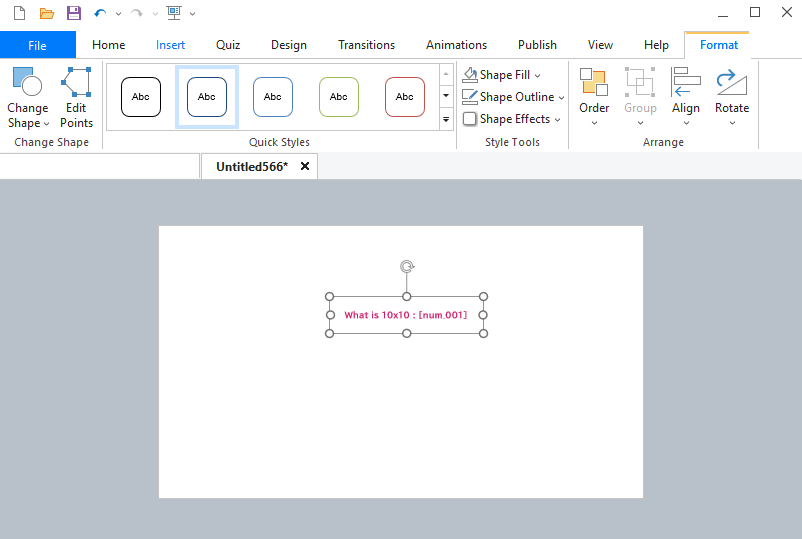
After adding a shape or text box, you can edit its appearance: change the font style, choose the shape appearance, define the size, and determine the duration of its display.
To chose the shape formatting:
- Click on the shape on the canvas or on the timeline.
- On the SmartTutor ribbon, click the Format tab.
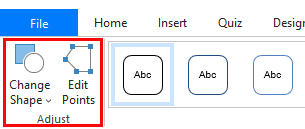
Adjusting Shapes
To swap a shape with another one while keeping the same position on the timeline and format other shapes to match the current one, use the Adjust section.
|
Button
|
Description
|
|---|---|
| Change Shape | Swap the shape with another one. The new shape will preserve the position of the previous one on the timeline. |
| Edit Points | Allows you to directly manipulate the individual points that make up a freeform shape. See this user guide to create a freeform |
Formatting Text
You can change the fonts in the Home tab in the Font group.
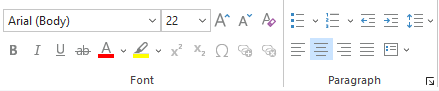
Here you can choose the following options:
|
Option
|
Description
|
|---|---|
| Font family | When you start a new description, the default font will be Arial. But you can always choose a different font from the drop-down menu on the editor toolbar. |
| Font size | To change a font size, choose the new size from the corresponding drop-down menu. |
|
Increase/Decrease Font Size |
This option allows you to increase or decrease the size of text in the block. Select the text and click the corresponding button to adjust the text size. |
| Bold, italic, underline | Click B (bold), I (italic), U (underline) on the toolbar to apply the formatting you need to the selected text. |
| Font color | Click the arrow next to Font Color. Under Theme Colors or Standard Colors, choose a color. If you want a specific font color, you can select it in the More Colors area. |
Changing Shape Style
You can change the appearance of the shapes with text in the Shape Styles group of the Format tab.
Shape Styles
- Click the shape that you want to change.
- In the Shape Styles gallery, select the style you like.
Shape Fill
To change the shape fill color:
- Select the shape you want to change. The Format tab will appear.
- On the Format tab, click the Shape Fill drop-down arrow. The Shape Fill menu appears. Mouse over the various colors. Select the color you want to use. To view more color options, select More Fill Colors.
- The shape fill can be solid or gradient. If you want to use a gradient type of fill, select Gradient from the drop-down menu. You can also select No Fill to make it transparent.
Adding and Removing Shape Outline
To add and remove shape outline:
-
- Select the shape for which you want to add a border.
- Click the Shape Outline button on the toolbar.

- Perform one of the following actions:
Choose an outline color Select a color from the palette, or click More Outline Colors… to specify your color.If you want to use a specific color, select the eyedropper and click a color on your screen that you want to copy and apply to the selected shape or object. Change the thickness (weight) of the border Click Weight and select the thickness of the line. Remove the border Click No Outline.
Adding Effects to a Picture
Shape Effects
- Click on the shape for which you want to add or change the effect.
- On the toolbar, click Shape Effects.
- Hover over one of the options (Shadow) and select one of the options for highlighting or shadowing. When you hover the mouse pointer over one of the effects in the menu, it will appear in the selected shape.
- Click on the selected effect to apply it.
To delete a shadow, hover the pointer over the Shadow item in the list, and then select the first option, No Shadow.