Click boxes are areas on the slide where the user must click before the next action can take place. You can use click boxes to demonstrate an application’s functionality, for example, by placing them on menus or buttons where the user must click. You can determine what happens after the user performs a successful click. For example, the project can advance to the next slide, open a URL, or send an e-mail message.
After you have added a click box to your project, you can view and edit its properties using Properties pane. To view the properties of a click box in relation with other interactive objects in the project, select Properties pan > Actions.
Add a click box
-
Open the slide to which you want to add a click box.
-
Select Insert > Click Box. A click box appears on the slide.
-
Size and drag the click box as desired.
-
Double-click the Correct, Incorrect, or Hint captions to edit the text.
-
To change the properties of the click box, click the box and change the properties in the Property panel.
Set Correct Answers for Click Box
To set correct answers to click box objects, Go to Properties pan, choose  Quiz tab -> Click box
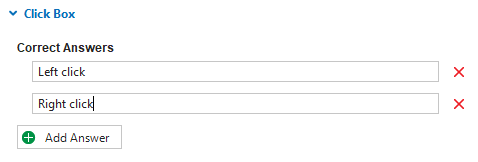
The correct answer depends on the mouse click you are using. You can also press keys + mouse clicks at the same time, example : Ctrl + Left click
Question Options
You can assign a score to every correct mouse-click and coordinate the score with a learning management system.
- Report Answer: Enable sends the quiz score to the learning management system (LMS).
- ID : Sends tracking information to your learning management system. Use the interaction ID specified by your learning management system.
- Points for a correct answer: The score that you want to assign to the question.. The points assigned to this click box are added to the score results of the current quiz.
- Number of Attempts: Set the maximum attempts that users can do the click action
- Limit time to answer question : Set a time limit that only allows users to click in the given time.
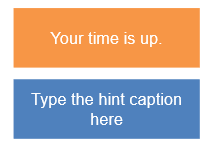
Insert and Customize Feedback Caption
As mentioned above, two default caption are added to the click box when you insert it into the slide. Apart from them, you can add two other types of caption that are Timeout Caption ( ) and Hint Caption(
 ):
):
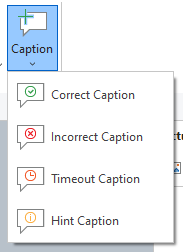
To add more captions, go to Insert tab or Quiz tab, click Caption drop-down to choose insert a caption
Add Actions
When you add a click box object to a slide, SmartTutor 360 automatically add default events – actions to it as below:
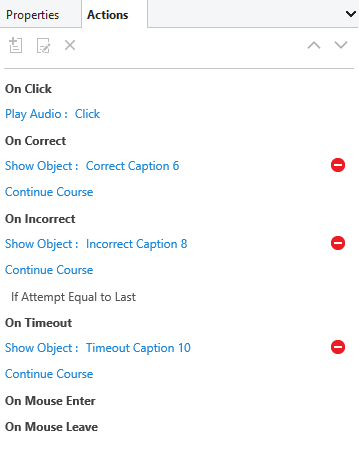
Below is the explanation for the meaning of each event:
- On Click: Occur when users click on the target area.
- On Correct: Occur when users click on the target area.
- On Incorrect: Occur when users click outside of the target area.
- On Timeout: Occur when users don’t respond within the specified time.
- On Mouse Enter: Occur when the mouse rolls over the target area.
- On Mouse Leave: Occur when the mouse rolls out of the target area.
After adding events, continue adding actions to events, and conditions to actions if necessary.
For more details, see Work with Actions.