When you want learners to access a SmartTutor 360 course over the internet or a private intranet, and if you don’t need to track their progress, then web publishing is for you. (If you do need to track learners’ results, publish for LMS/LRS.)
Step 1: Prepare Your Course for HTML5 Publishing
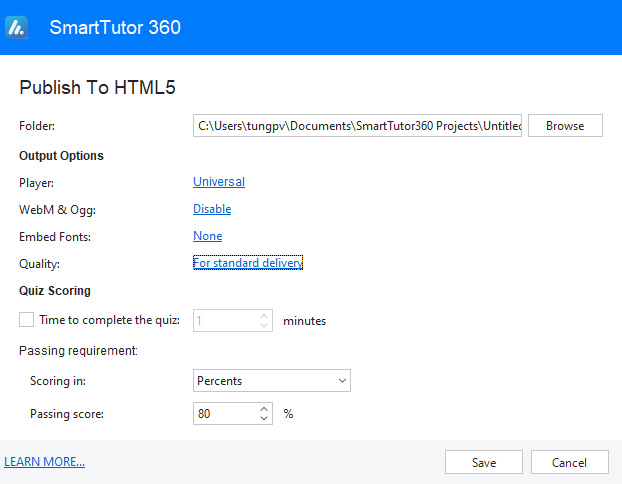
- Use the Folder field to choose where you want to publish your course—for example, your computer desktop. Click the Browse button to browse to a location. SmartTutor 360 will create a new folder in that spot with all the files needed to operate your course.
- Output Options
- Player : Adjust the Player Properties. To make adjustments to your player, click the player name to open the player editor.
- WebM & Ogg: Select this check box to allow viewing the HTML5 content on browsers that don’t support MP4 and MP3 but support WebM and Ogg.
- Embed Fonts: Embed fonts that are used in content into output using CSS3 Web font specification. This makes the content look consistent between platforms and devices.
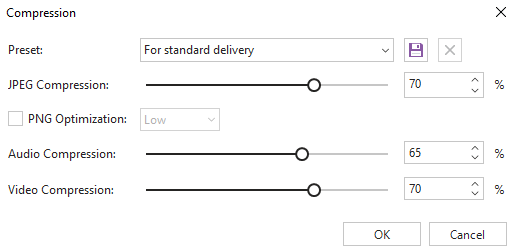
- Quality: Specify quality for videos in the output if any. The higher the value, the higher the video quality, and the larger output file size.
Step 2: Publish
When you’e finished making selections, click the Publish button. When the publishing process is complete, you’ll see the Publish Successful window with several follow-up options.
| View Project | This launches the published course in your default web browser.
Important: Since your files have been prepared for web delivery, you might encounter unexpected behavior when viewing the course on your local hard drive. It’s best to upload your published output to a web server for proper testing. |
| This opens a new email message with a zipped file of your published course attached.
This option is helpful if you need to send your course to a web server administrator for deployment. We don’t recommend emailing a published course to learners. Security restrictions on their computers will prevent some features in your course from working properly. Upload the course to a server instead, then give learners a link to the |
|
| FTP | This opens a window where you can enter your FTP credentials and transfer your output to a web server. |
| Zip | This creates a zipped version of your course files in the same location where your course was published. |
| Open | This opens a file viewer where you can see the files SmartTutor 360 just created.
After you move the files to a web server, send learners a link to the |
Step 3: Distribute Your Published Course
Now that you’ve published your course, it’s time to upload it to a server and give it a test run. Then send learners a link to the index.html file.