Speed up course development by converting text to speech right in Storyline 360. For example, use the text-to-speech feature to quickly narrate a course for stakeholder review or to localize narration in different languages. You can even choose the voice and language to make sure every word sounds right.
Converting Text to Speech
- Go to the Insert tab on the ribbon, click the Audio drop-down arrow, and choose Text-to-Speech.
- When the Insert Text-to-Speech window appears, select a Language from the first drop-down list. This ensures that your words are spoken with the correct pronunciations.
- Choose a Voice (standard or neural) from the second drop-down list. You can hear what a voice sounds like by clicking the Speak button next to the list.
- Click Generate to complete the process. You must have an internet connection to convert text to speech.
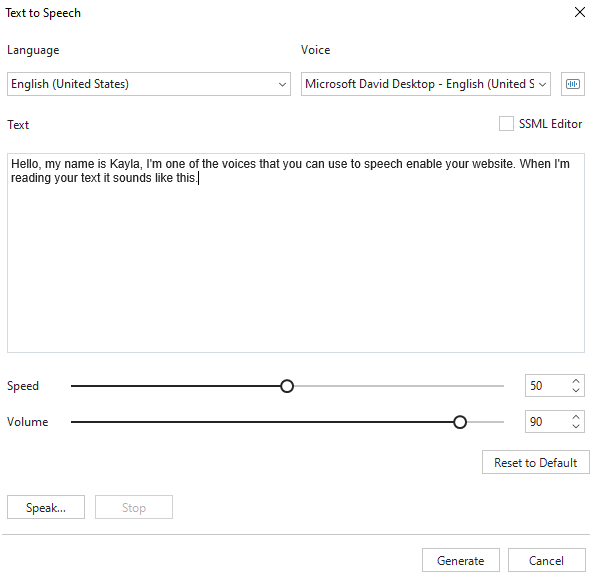
SmartTutor 360 converts your text to narration, and it’ll appear as an audio clip on the slide’s timeline. The conversion process is fast, but lengthy scripts take longer to convert.
You can add as many text-to-speech clips as you want. You can even use different voices for different clips, which is great when creating a scene where two or more characters are conversing.
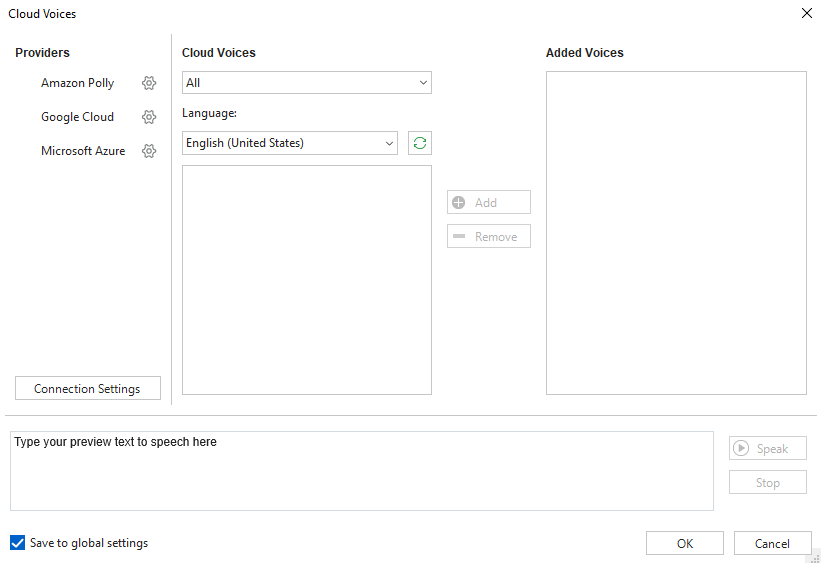
Cloud Text-to-Speech
To get more online voice, click the More Voices… button

A Text to Speech dialog appears allowing you to access more voices. However, to make voices accessible, you first have to get authentication from the voice providers.
See also
Using SSML (Speech Synthesis Markup Language) in SmartTutor 360