SmartTutor 360 is a powerful and versatile e-learning authoring tool that comes with a user-friendly interface designed to facilitate the creation of interactive and engaging presentations, screencasts, and e-learning content. The interface layout of SmartTutor is intuitively organized, making it easy for users to navigate through the various features and functionalities. Let’s take a closer look at the key elements of the SmartTutor interface layout:
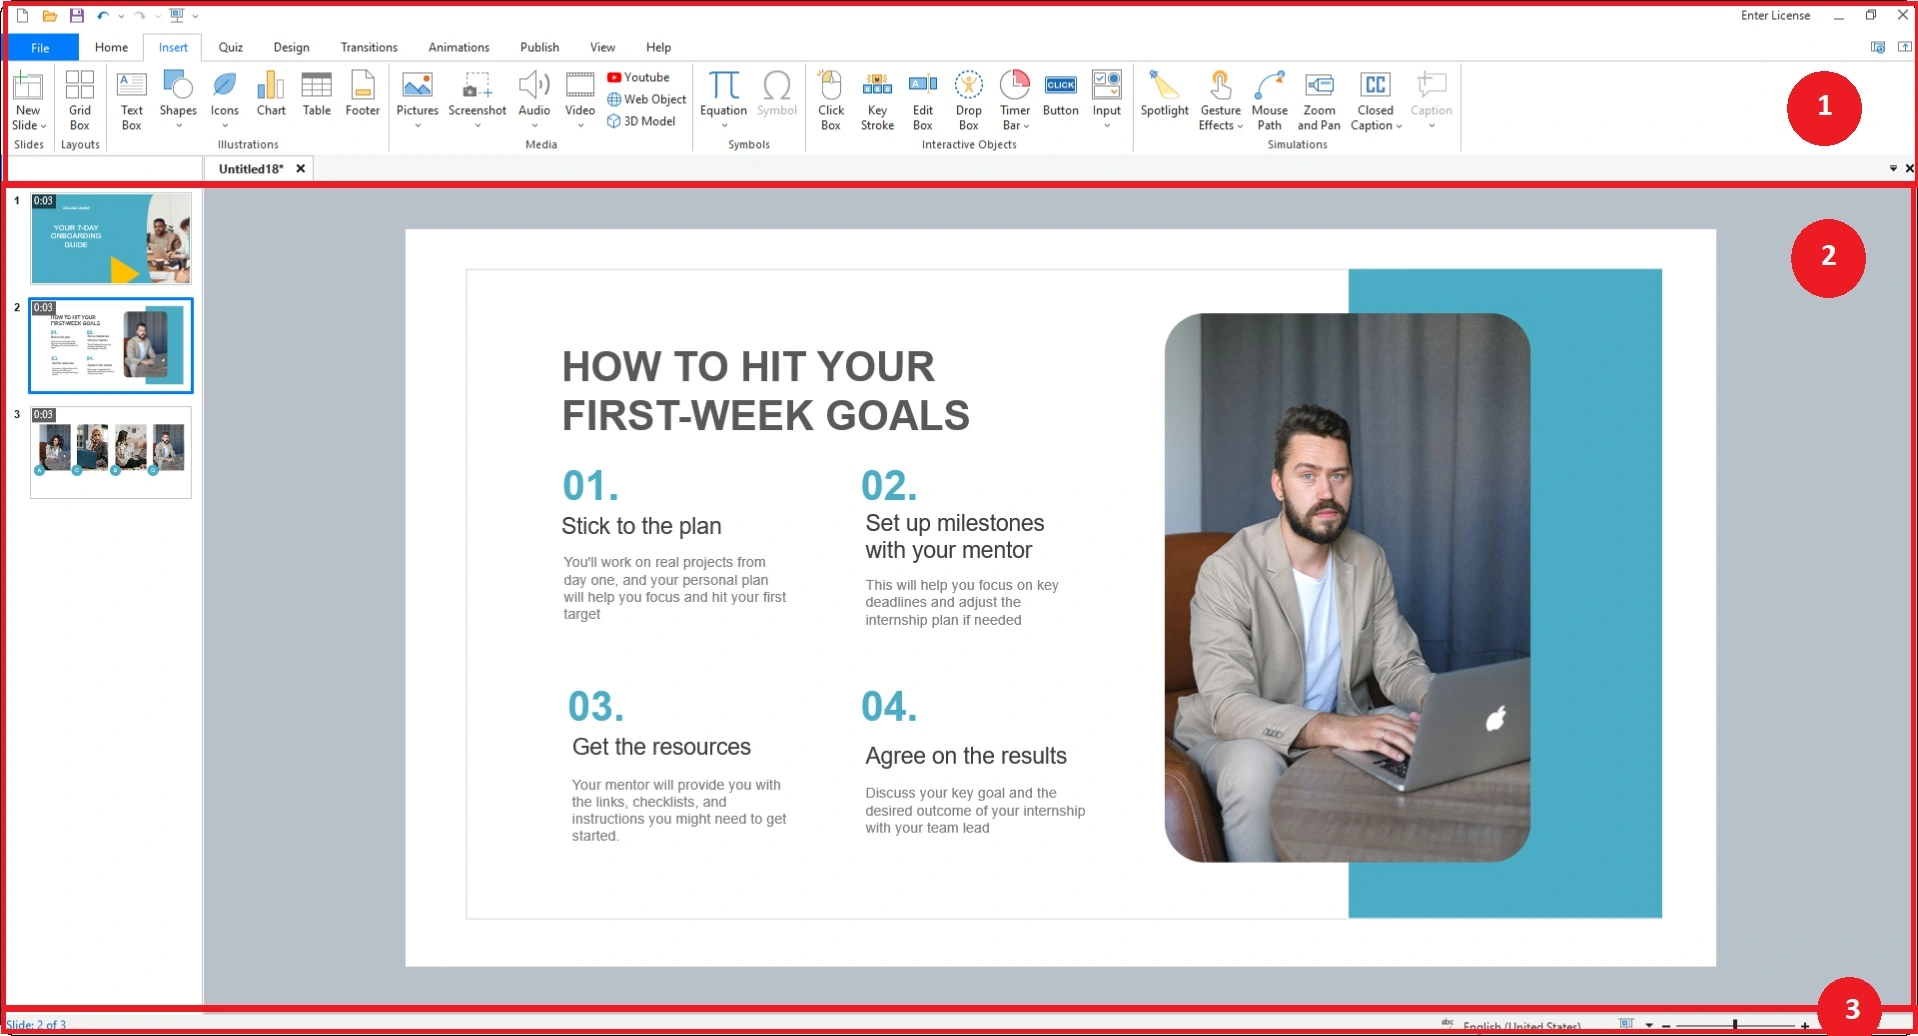
- Ribbon Toolbar: At the top of the SmartTutor 360 interface, you’ll find the Ribbon Toolbar. This toolbar is divided into tabs, each representing a specific category of features. For example, you may find tabs for Home, Insert, Quiz, Design, Transitions, Animation, Publish and Help. The Ribbon Toolbar provides quick access to essential tools and options, streamlining the content creation process. See this user guide for details.
- Workspace: The central area of the interface is dedicated to the workspace. This is where you create and edit your presentations, screencasts, or e-learning content. The workspace is designed to be clean and uncluttered, allowing you to focus on your content without distractions.
- Status bar: The status bar is a graphical element or bar typically located at the bottom of the interface. Its primary purpose is to provide you with information about the current state or condition of the program, document, or process you are working on. See this user guide for details.
SmartTutor 360 Workspace
- Slide Explorer: On the left side of the interface, you’ll find the Slide Explorer. This panel provides an overview of all the slides or scenes in your project. It allows you to easily navigate between different parts of your content and manage the structure of your presentation. See this user guide for details.
- Properties Pane: The Properties Pane, typically located on the right side of the interface, contains Properties tab and Event & Actions Tab.
Properties tab displays the properties and settings of the selected object or element. Whether you’re working with slides, images, or interactive elements, it also gives you control over customization options such as size, position, and formatting.
Event & Actions tab It allows users to define actions and interactivity within their courses. Event & Actions are essentially a way to specify what should happen based on certain conditions or events. They connect different objects, elements, or actions within a slide or course and define the interactivity. See this user guide for details. - States Pane: States let you change the appearance of an object based on a learner’s actions. For example, you might enlarge a button when learners hover over it or add a glow effect when they click it. You can even change character expressions and poses with states.
- Timeline: At the bottom of the interface, you’ll find the Timeline. This is a crucial component for managing the timing and synchronization of elements in your course. You can arrange objects on the timeline, control their visibility and timing, and add animations or transitions to enhance the overall learning experience.
See this user guide for details. - Media Library Pane: The Media Library Pane, often located on the right side, allows you to manage and organize multimedia assets such as images, audio files, and video clips. This makes it easy to import, reuse, and manage your resources efficiently. See this user guide for details.
- Symbols Pane: SmartTutor 360 includes a Symbols Pane, typically located at the right of the interface, where you can add individual symbols to your canvas by double clicking on them or drag it from Symbols Pane.
See this user guide for details. - Selection Pane: You can use the Selection Pane to select objects on your slide. This is particularly useful when you have many overlapping objects, and it’s challenging to click on the one you want. See this user guide for details.
The SmartTutor 360 interface layout is designed to cater to the needs of both novice and experienced users, providing a balance between simplicity and functionality. Whether you’re creating educational content, software simulations, or product demonstrations, SmartTutor 360’s interface empowers you to bring your ideas to life with ease and precision.